Installation on Raspberry Pi
Theremino system applications work on Raspberry Pi models to, B and B +, with the framework “Mono” and only 256 MB RAM. Download them from pages “Downloads” and follow the instructions below.
The Theremino system provides the Raspberry Pi Input/Output System easy to use and high performance. For example, You can run multiple acquisitions of dozens of analogue channels, with hundreds of samples per second.
The Raspberry Pi has ADC inputs, so the analog to digital conversion is usually carried out by means of a slow related I2C bus converters, or with Arduino boards. These ADCs generally have a few bits and are too slow and too noisy for most applications.
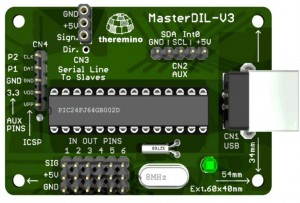
The Theremino Master on Raspberry Pi
Attention: There are new important initiatives for Linux, Android, Raspberry PI and Mac OSX, read here: https://www.theremino.com/blog/the-hal#comment-12507
Attention: This information is partly outdated. Small PC with Windows, they are always cheaper, consume less and go beyond five times faster than Raspberry PI. On PCs and Tablet with Windows, all our applications work with the 100% of efficiency, and they work for (you do not need to perform lengthy and complicated installations).
https://www.theremino.com/downloads/notes-on-software#liva
Express installation
Install Theremino in a Raspberry Pi is a smooth operation. All documentation in English is also available in the File:
theremino-raspbian-installation.zip
The installation must be done with the Raspberry Pi that is connected to the Internet. When the installation is complete, You can disconnect it from the network and possibly create a Backup of your SD Card.
Pay attention to the fact that Linux distinguishes between uppercase and lowercase letters and that shell files (.sh) must be executables:
(Rightclick/Properties/Permissions/MakeTheFileExecutable)
The applications of Theremino System lean against the Mono framework. Make sure that Directory names and application Subdirectory of the system Theremino not have spaces, dashes or special characters. Could cause malfunctions with Linux and Mono.
To run under Linux, Theremino system applications they need in the same folder where the executable program is also the CustomControls.dll library. Download it from the page https://www.theremino.com/downloads/uncategorized and copy it beside the. exe file you wish to perform.
Theremino system software supports both Mono and in WindowsForms. Since currently these softwares have malfunctions with operating systems hard-float, We used the operating system Raspbian soft-float Debian "Squeeze". When these issues are resolved, We will update the environment with more modern operating systems that make use of the math coprocessor and who therefore better performance.
Tip: Many operating systems handle the/tmp folder as a RAMDrive and emptied on every reboot. To avoid wasting space on your SD Card, do not delete Files or Directories as these would be simply moved into the TrashBin folder. Instead you should move objects that are no longer useful in the/tmp folder
Tip: We will use l’ Internet browser Midori, whose default folder for Downloads is/home/pi. To avoid wasting space on your SD Card, keep, and expand the folder/tmp/SaveAs to RightClick the Compressed Files in the same Directory. Then move only the necessary folders inside the target directory.
Tip: To verify that you are using all the RAM of the Raspberry Pi, run Start/SystemTools/TaskManager to see how much memory is available. The amount should have a value close to the maximum, Since a small part is used as VideoRAM.
Tip: To create screenshots, You may also install the application “scrot” with the following command in the Terminal window:
sudo apt-get install scrot
Then you can move the scrot.sh File provided in your Desktop and take pictures after a delay of 10 seconds from the moment you launch this command File. Editing the item, You can lengthen the delay time and also use other parameters.
Resources
To allow an easy and quick installation, We have prepared some Backups of SD cards from 8 Gigabyte. If you use higher-capacity SD Card, You can enlarge our backups with the RaspiConfig utility, to get more space for your applications.
A Backup ' nude’ operating system:
2013-05-29-wheezy-armel_Theremino.zip (3 Gigabyte)
A Backup of the operating system with Mono libraries installed already and LibUsb:
2013-05-29-wheezy-armel_Theremino-ENV.zip (8 GB – This is the recommended Backup)
A Backup of the operating system already installed with the developer tools:
2013-05-29-wheezy-armel_Theremino-DEV.zip (8 GB)
Tip: If you wish to view or make changes to low-level system libraries Theremino written in C++ , pay attention to the fact that the ARM microprocessor of Raspberry Pi stores the Bytes in an order different from that of other CPUs (Little Endian, Big Endian).
Preparing the SD Card
Download the Backup of your choice and decompress the File. You will get a File of type img.
Take an SD Card from 4 or from 8 Gigabyte and insert it into your PC or player in an inexpensive USB adapter.
Download the application to format the SD Card from here:
SDFormatter4.0.zip
Then install it. This program, When launched, automatically switches to administrator mode.
Format the Card with VolumeLabel = “soft-float”, by selecting FULL Format (Erase) and also FormatSizeAdjustment = ON
Download the application Win32DiskImager from here:
Win32diskimager-0.9.5-binary.zip
Expand the files into a folder and run the executable with Right click/Run as administrator.
Select the previously downloaded img File and when you press the Write. You will be prompted to write the unit “soft-float”.
Terminate the application when you're done writing and then Eject the Card via software, with the PC operating system command. Only then remove the Card from the PC and plug it in Raspberry Pi turned off.
At startup may appear the GUI that you can finish with Ctrl-Alt-F1, and then you can Login with:
username: PI
password: Raspberry
If Raspbian automatically launches a Root window asking to run a fsck command to adjust the expanded File System, execute the following:
fsck/dev/sda2
Then restart with the commands:
sudo-i
shutdown-r now
At the next reboot, Raspbian should automatically launch the RaspiConfig.
If Raspbian goes to Prompt, run the utility manually with the commands:
sudo-i
raspi-config
Using the arrow keys, Select expand_rootfs (Expand The Filesystem) and then Tab to choose <Select> and press the Enter button.
Give a Enter the confirmation window RootPartitionHasBeenResized.
Using the Tab key, Select <Finish> , and then press Enter.
Confirm restart by pressing Enter.
On reboot might appear the GUI that you can finish with Ctrl-Alt-F1, and then you can Login with:
username: PI
password: Raspberry
Since the Raspberry Pi works defaults to 700 MHz and is quite slow, We recommend that you use the RaspiConfig utility to make at least one ModestOverclock that works without supercharge its Chip. Select Overclock and choose 800 MHz, the next time the system should be more fluid.
Run the utility manually with the commands:
sudo-i
raspi-config
To update all software on the top level, executed sequentially commands:
sudo-i
apt-get update
apt-get upgrade
apt-get install mono-complete
apt-get install mono-viable but nonculturable
apt-get install libusb-1.0.0
shutdown-h now
The next reboot you can use the graphical, can be called from a Command Prompt with:
startx
Low-level libraries
Using the internet browser Midori, Download the File in Raspberry Pi:
theremino-raspbian-installation.zip
Tip: This File can be opened with a text editor in Raspbian. From now on, You can open a Terminal window and then copy and paste by using the window menu.
All the files you need to have the Theremino System running on a Raspberry Pi, can be downloaded from here. This File also contains the Bindings for Python:
Theremino_Raspberry-Pi_V1.0.tar.gz
Download this File in the/tmp folder and expand it beyond.
Then move only the folder Theremino/on your Desktop.
You should now get a folder/home/pi/Desktop/Theremino
Completion of the installation
To copy the two libraries of Theremino in the/usr/bin folder , Open a Terminal window and type the following three commands:
sudo-i
bash/home/pi/Desktop/Theremino/rasp-soft/slot/COPY_TO_USR_LIB.sh
bash/home/pi/Desktop/Theremino/rasp-soft/hid/COPY_TO_USR_LIB.sh
Copy the ThereminoMaster rules to manage it as a USB HID ( Beware of the end point! ) with the following two commands:
CD/etc/udev/rules.d
CP/home/pi/Desktop/Theremino/rasp-soft/hid/41-theremino.rules .
Close all applications and even the GUI by selecting Start/Logout.
Perform a shutdown and then restart.
After fundamental libraries were copied and set with the correct permissions, in the folders/usr/lib and/etc/udev/rules.d , You can then check that everything is working smoothly.
Environmental testing Theremino
Using the graphical interface and File Manager, go to the folder/home/pi/Desktop/Theremino/rasp-soft/slotview
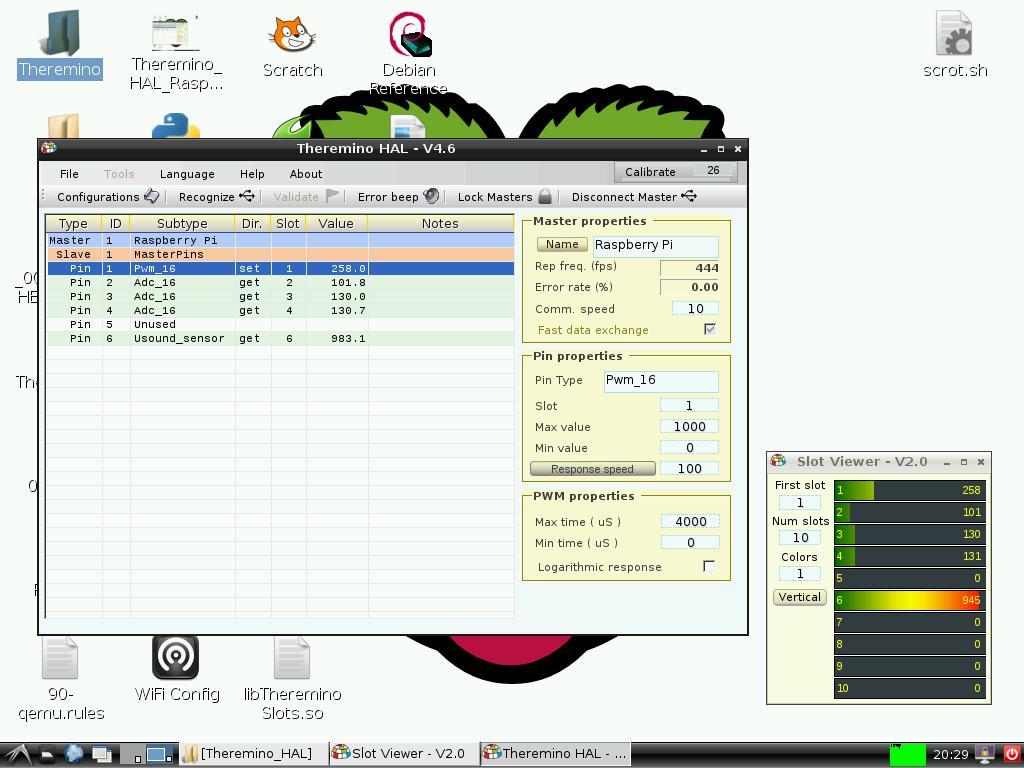
Set as executable File START.sh and run it, the application Theremino_SlotViewer should start.
Run the File START.sh again, You should have two active instances.
By changing the value of one of the Slots in a instance should also change the value in the other instance.
Emulation with Qemu
We chose to develop software mostly within the Raspberry Pi itself, to increase source portability. To make changes and develop new applications that use only the Slots of the system Theremino and do not access to USB ports, You can use one of our Backup with an emulator.
Using the Qemu emulator is explained in the documentation File in English and this guide was inspired by the wonderful Tutorial:
http://linux-mitterteich.de/fileadmin/datafile/papers/2013/qemu_raspiemu_lug_18_sep_2013.pdf
We Want You !
Our software was developed on Windows, We know well. If you have experience of Android, Linux or Mac OSX could help us improve compatibility and complete porting all programs. Write to us!


